The Legacy of the Aerobar

Used by triathletes as early as 1987, the most notable first use of the Aerobar occurred with Greg LeMond in the (1989) Tour de France. He used Scott Aerobars which placed the elbow pads at near shoulder width, forearms elevated about 15 to 20 degrees, and hands in a fist position. Pioneered by aerodynamicist Boone Lennon, this was the birth of the modern aero position.
Several years later the cycling community witnessed another aero revolution. The Obree position—an aero position taken to the extreme—hands against the breast, completely eliminating the frontal cavity. It was also known to be incredibly hard to control. Following the ban of his first, controversial position. Graeme Obree returned with a new position, which mimicked that of “Superman”. With his arms completely extended in front of him, fists in the air, Obree had once again minimized his frontal surface area with his arms breaking the wind for his face and upper body.
Less than a year after Obree’s “superman” position was deemed illegal by cycling’s governing body, Jan Ullrich developed a variation on the position, where the bar extensions ran parallel to the ground at a slightly wider width than we typically see (usually just about shoulder width). This position brought his arms down to reach for the extensions, increasing his frontal cavity. By doing this, Ulrich was able to place his hands in a more aerodynamic position, covering the front of the extension and placing his hands in more aerofoil-like shape. An additional benefit was that it moved him to a position in front of the pedals, which allowed him to generate more power.
After nearly a decade, Floyd Landis brought us the next evolution, dubbed the Praying Mantis or ‘Praying Landis’. In this position the rider’s elbows are touching, completely closing the frontal cavity using the rider’s arms, which were tilted well past 15 degrees. Following its use in the Tour de France in 2006, the position was ruled to be illegal by the UCI.
Today’s Legal Modern position Obviously, it’s impossible to mention all of the variations in position within this space. Many other positions are employed, but the list below features six positions used by the most dominant time-trialists in our sport today:- The strong man position (Lance)
- The crunched man position (Levi)
- The “I wish I could do that” position (Zabriske)
- The power monster position (Cancellera)
- The tire toucher position (Cadel)
- The British position (Bradley Wiggins)
Lance’s position places the rider a bit more upright, with arms slightly wider than other riders. The hands are placed in a fist position on a “hockey stick”-type extension or large “S”-bend extension.
Approximating the Praying Mantis mentioned above, Levi Leipheimer’s position is about as radical as a rider is able to get within the current UCI rules. This position places the rider with elbows touching and arms elevated upright. Given Levi’s (lack of) height, this slightly higher position allows him to achieve a completely closed frontal chest cavity
David Zabriske’s position is similar to Jan Ullrich’s mentioned above. The extensions are placed perfectly flat. However, DZ’s arms don’t scoop the air up like Ullrich’s, but instead run parallel to the ground with hands reaching down to the aero extension. Note that his elbows are also very close together—almost touching—with his back perfectly flat. I’d suggest that this is likely the most aerodynamic position in the pro-peloton today.
Fabian Cancellera's position features a narrow position of the elbows—but not as narrow as Zabriske or Levi. Instead, Fabian runs his extensions slightly wider, with his arms tilted down slightly, scooping up air. This allows him to generate more power. Cancellara is without a doubt the most powerful rider in the professional peloton.
Cadel Evans has one of the lowest hand placements in the pro peloton; his arm pad is placed a little forward and his arms are slanted down. A position like this one can help with generating power by moving the rider forward and more in front of the pedals, like in Ullrich's mentioned above. But this is not great for the aerodynamics, as he is scooping up air into his chest. Also, due to his body type and position he is not able to get a "flat" back, but yet he is still one of the fastest time trialists in the pro peloton.
I first noticed the British position in use during pursuit events on the track. In this position the rider uses a wide pad placement, with the extensions coming straight out, resulting in a bar setup that is perfectly parallel with their body. I believe this position came about for several reasons. First, when racing on the track it’s imperative that the rider is able to hold the bike down in the turns. A wider pad placement facilitates this. Second, with the way the rider’s arms come straight off the front of the bike, side to side movement is limited. This locks the upper body into a consistent position which helps the rider to generate more power with less drag.
Aerobar Adjustments - Concepts, Pros and Cons
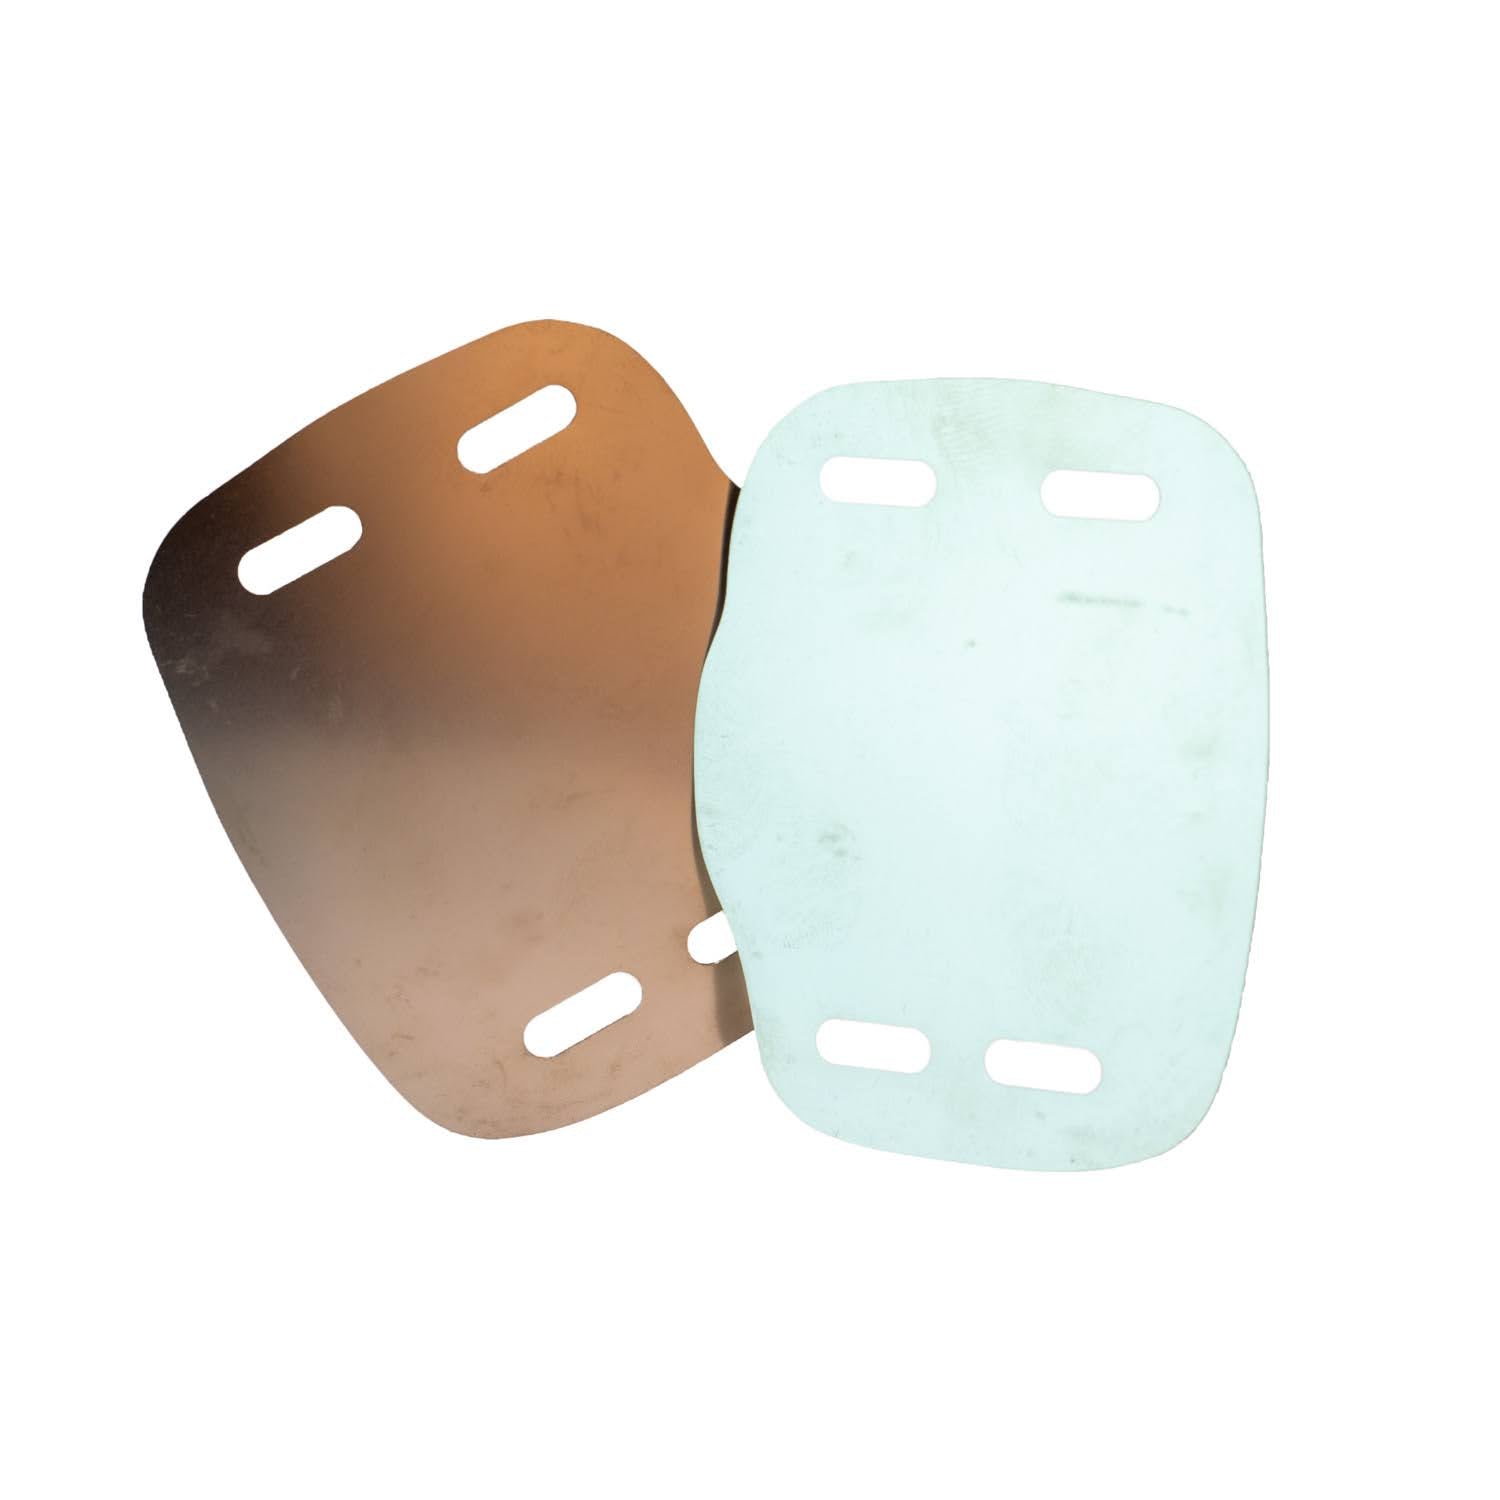
Pad PlacementMake no mistake, pad placement is one of the most important concepts to take into account. Today’s aerobars feature pad placements ranging anywhere from 8cm to 16cm wide (measured center to center), though in the British Position it is often closer to 16-20 centimeters. In some extreme cases, we’ve seen a few riders going almost full shoulder width. If you watch the time trial stages in the major races, you’ll notice that a lot of riders prefer to run the pads closer to their elbows, pulling their elbows in. This helps them achieve a smaller chest cavity, and hence, a more aerodynamic position. There are lots of pros and cons to pad placement in this regard. Setting up an aero position does require care and consideration. Positioning the pads too far to the rear can cause your knees to hit them while out of the saddle. It was this very issue that caused David Zabriske to lose the yellow jersey because of a horrific crash. Additionally, the handling of the bike is substantially different when the pad is closer to the elbow.† While widely considered to be more comfortable, positioning the pad farther back can make the bike seem a bit more twitchy. Because of it’s rearward location, the rider’s weight transfers to the pad much more easily when the pad is closer to the elbows. Pad shape has a lot more to do with how the rider is going to look once he has started their effort. It tends to dictate how the rider moves his or her arms under load. The more support the rider has on the outside of the pad, the more secure the position. However, this security can, in turn, make it more difficult to get in and out of the position. Something to consider if you’re riding a course which is known to require a lot of position changes (seated to standing for climbing, sprinting, etc.).
It’s worth noting again that there are a myriad of factors to take into consideration. As a general rule; the closer your pads and the end of your extensions are the more secure posture you have on the bike. Placing the pads farther back is typically more comfortable, though it can be a bit more difficult to control the bike (and more likely that you’ll hit your knees).
ExtensionsFrom pad placements we move to extensions. Like pad placement, choosing the correct extensions is also very important. There are four basic styles. The first one is the straight extension—used in the Ullrich position or Zabriske’s position. Then there is the “S”-bend, which is really just a variation of the straight extension. Third is the “lazy-S”, which as a variation of the “S”-bend does not go parallel to the ground, but instead bends upward approximately 20 to 30 degrees. Finally we have the “hockey stick”, or traditional bend.
The straight extension provides the most aerodynamic position for what the wind sees in regards to your hand, the extension and the bars. However, the straight extension typically curves the rider’s back a little more because of the reach down to the bar. While it’s commonly stated that this position can cause the rider’s to hand scoop air into the chest cavity, this is not always the case. We see some riders breaking that rule. David Zabriske is probably the best example of a rider who prefers wider arm placements with straight extensions. It’s also become quite common to see straight extensions used by pursuit racers on the track as this postion moves the rider forward and is inturn said to produce more power.
There are many variations to the “S”-bend extension. Companies like Ritchey make “S”-bend bars that feature extensions which run parallel to the ground, with a sharp “S” and then parallel again. This type of extension helps to achieve a flat back by reducing the body’s urge to curve as the rider reaches farther down. In studying video footage, we’ve found that riders who choose the “S”-bend extension typically do not ride the ends for extended periods. Instead, most seem to prefer reaching back into the curve to improve leverage—it provides something on which they can pull during hard efforts. The “S”-bend is a very versatile extension, it does not eliminate the flat back, though we do typically see a small hunch in the back near the shoulders which roll up a little. The downfall of the “S”-bend is that while the rider is holding the top part of the bar, the bottom part is exposed to the wind. Many proponents of the “S”-bend argue that because your arms are higher, it closes your chest cavity and reduces drag. While some say that it looks cool, we at Predator Cycling have had limited success when setting up our customers on an “S”-bend extension.
The “lazy S” extension came about because of the “S”-bend extension and its inherent curve in the upper back and shoulders. We do a lot of professional fitting using “lazy S” extensions. Early on, we discovered that riders who reach for the bars are able to achieve flatter backs. It’s no different with the “lazy S” extension. Because it allows the rider to reach out, the hand position creates a slightly raised forearm which works to flatten out the back. I personally have helped many riders achieve a flatter back with a lower position and a much smaller chest cavity using a “lazy S” extension. These riders are usually surprised to find out how comfortable they are in that position as well. The downfall of the “lazy S” is the same as the downfall to any “S”-bend extension: the rider’s arms do not cover the bar in the wind. When the bottom part of the bar is exposed to the wind, it is something the wind “sees”—drag is created. However, in weighing all of the factors surrounding fit (comfort, aerodynamics, power, etc.), the “lazy S” bend extension is still the style that we recommend the most.
The “hockey stick” or traditional bend—sometimes also called the “J”-bend—is my personal favorite. It allows the rider to achieve a position with flat arms and yields a position that most people find to be quite comfortable. Though the arms do not come close together and narrow like the “S”-bend does, the “hockey stick” is fabulous for powerful riders like you’d see on the track in pursuit and kilo events. It’s not uncommon to see these riders tugging on the bar in order to lock their upper bodies into a position which generates maximum power. This technique has been used most prominently by the current crop of British track riders. The shoulder-width bar position gives the rider enough leverage to hold the bike still on the banking and create a lot more power. Additionally the wider position has gained favor in the team pursuit, where drafting the rider ahead is so critical to the recovery of the rider behind. The wider position creates more turbulence off of the rider in front, which in turn creates a bigger “pocket” for the rider behind to sit in and recover. Because track events are usually quite short, positioning for maximum power output is crucial. This wider position may also be better for triathletes, where event distance dictates a position which places an emphasis on creating power while allowing for maximum rider comfort. However, it’s also worth nothing that with a wider position, the rider’s body movement is significantly reduced—something that we see regularly in track events where power numbers are extremely high.
Bar HeightThe general rule on handlebar height has been to facilitate a flat back—parallel to the ground. Going past parallel typically closes off the chest cavity, closes up the hip angle, and hampers the rider’s ability to generate power. There have been a few riders to defy this premise and go below parallel, but typically it is said that parallel is good—it’s fast. Conversely, there have also been a few riders to ride definitively above parallel at the Pro-Tour level. We see this with Lance Armstrong. His position is definitely not flat. Lance generates an obscene amount of wattage and his position has been adjusted to allow for his to generate maximum power. Levi Leipheimer is another rider who utilizes an upright position, but can achieve a very tight tuck. In Levi’s case, it’s merely because of his size that he has no frontal chest cavity. Though the methods between these men vary, there’s little argument that both are extremely fast riders.
David Zabriske is often mentioned as a rider who has a textbook “traditional” aero position, arms perfectly straight next to each other, back perfectly flat, helmet sitting right on top of his back. He tucks in and rolls his shoulders and hips forward, getting extremely flat on the bike. Similarly, Cadel Evans uses an extremely low position. His bar height is low and his arms are placed wide with the pad sitting virtually mid-forearm. Additionally, his arms are angled down past 20 degrees. Personally, I have a hard time believing that this position is fast, as massive amounts of air are likely being scooped up right into his chest. The ideal bar height places the rider low enough where the arms are still comfortably together, where the hip angle is still open enough to generate power and above all puts the rider in a position where they can still safely watch the road—which is kind of important! Even riders that utilize a high position try to find a balance between power output and aerodynamics. The rider does not want to be so high that more power is created but the aerodynamic position is compromised, as this does no good. The balance between height, power and aerodynamics must be found.
Arm AngleFinally, let’s talk about arm angle. Over the last twenty years it has been one of the most hotly debated topics of discussion surrounding aerodynamics in cycling. Today, the UCI has many rules covering this topic. However, the spirit of the rule is to try and keep the rider’s arms parallel to the ground.
I don’t think that anyone can argue with the fact that when the rider lifts his/her arms—angling them up past parallel to the ground and closer to the face—that the frontal chest cavity gets smaller. Conversely, when going lower the frontal chest cavity inherently gets larger and scoops air in. Under the current rules we are very limited with regard to what the UCI allows. A position where the arms are slightly above parallel is likely the better choice, but the fact of the matter is that it’s of little consequence if you are SUPER AERO but can’t produce any power!
Most riders who pass through the fit studio at Predator Cycling are set up a few degrees above parallel to the ground. Our data shows that for most riders, placing the arms slightly above parallel allows them to generate a little bit more power. Most riders also find this position to be more comfortable and more aerodynamic as it helps the rider to flatten their back out slightly. An additional advantage is that it facilitates a lower frontal chest cavity, further reducing drag.
It’s worth mentioning again that these are not rules set in stone. Instead, they are principles to guide the rider through the fit process to achieve an aerodynamic position that improves speed without hampering power. In many instances, aero positions can take years to evolve, it’s not something that happens overnight. Even once a position is found, the rider will continue to work and refine it year after year. This is evident with the pro teams sending their riders into the wind tunnels as part of pre-season testing. If there was a single position that is the fastest, you wouldn’t see the teams making the (costly) annual commitment to wind tunnel testing. Each year brings new theories, new equipment and new opportunities to evolve each rider’s position—and they are going faster—so it must make a difference.
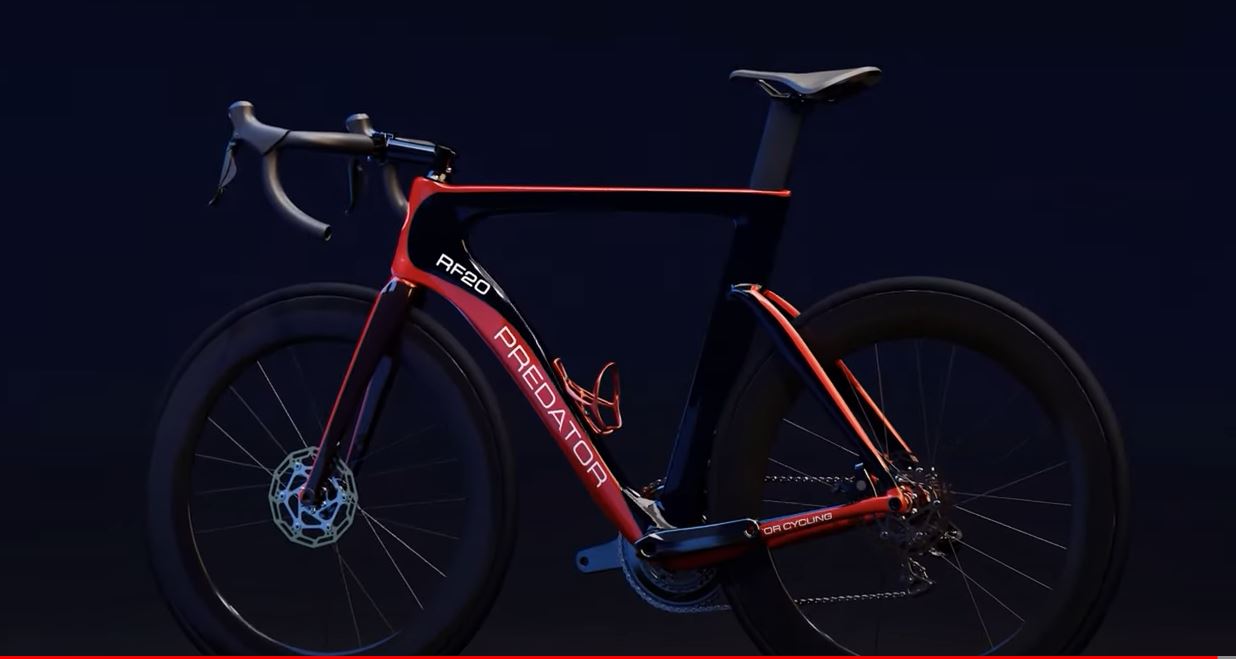
In summary, the most efficient aero position should place the pads as close together as possible, without being bothersome. They should also be run as far back on the forearm as possible, without allowing the rider to hit their knees while riding out of the saddle and without incurring stability problems. The arms should be angled up slightly—above parallel to the ground, and the rider should select an extension which helps them to achieve a flat back. It’s also worth nothing that the rider may be limited to the aerobars that they choose. This is one of the major reasons why we at Predator Cycling decided to build our own aerobars. Using our own bars, we can achieve any position that the rider needs in order to go faster. Elite riders can take advantage of our custom built carbon aerobars to achieve their ideal position which minimizes hardware as well as the exposure to wind. We also offer three “off-the-shelf” sizes designed to fit most average riders. In general, a rider needs to pick an aerobar that suits their needs; wide or narrow position, extension style preferred, maximizing comfort, achieves a flat back, and above all, makes them faster. As I’ve mentioned above, there are a myriad of factors to take into consideration. In a future article we will discuss how to pick the perfect aerobar for you. My hope is that this article has given you something to think about, and that it will guide you through setting up your aerobars. If you have any questions about aerobar setup, or what factors are taken into account during our fit process, please contact us. We will do our best to answer every question.
Also in News

Exploration of Design in the Metaverse with NVIDIA's Omniverse
What is the Metaverse? How can we optimize it within the cycling industry using NVIDIA's Omniverse?
Read More


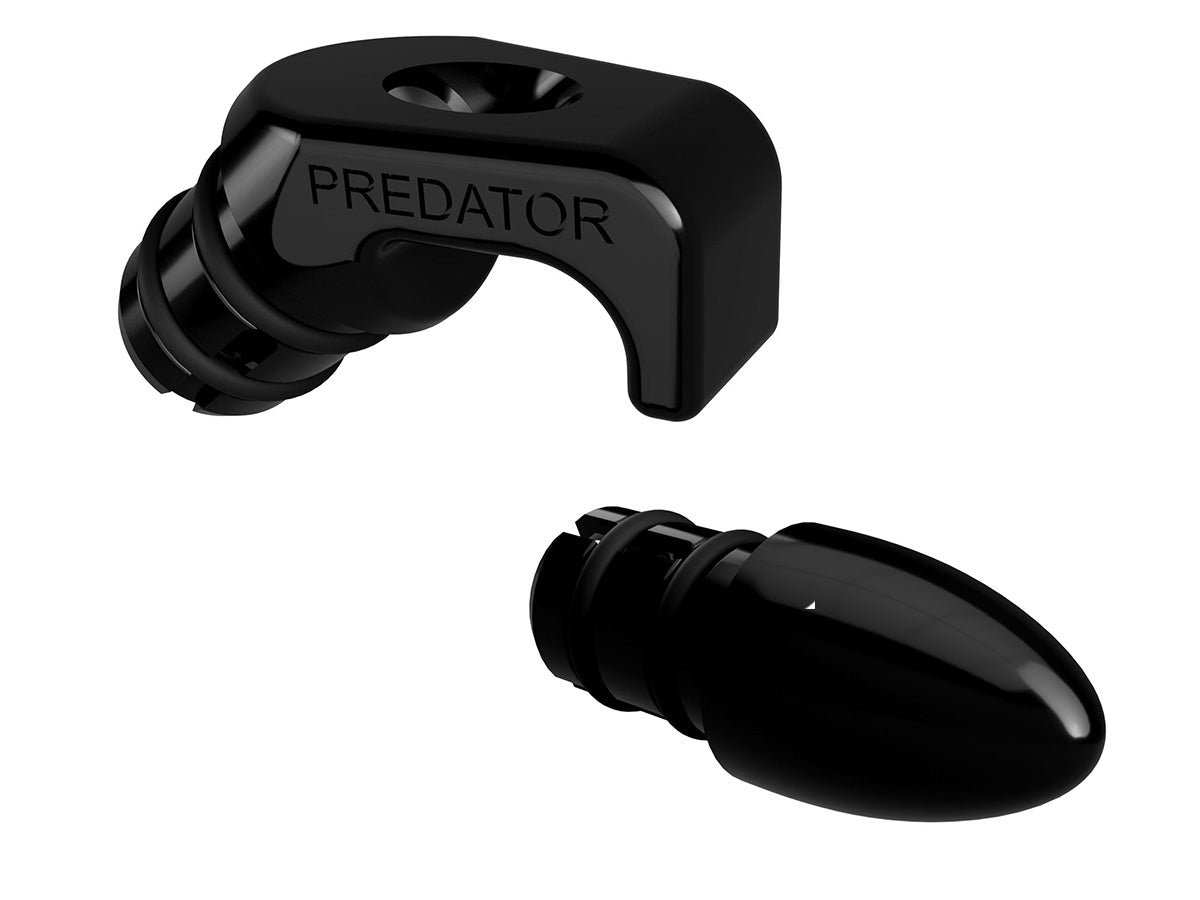
Aero Bar End Plugs
Bar end plugs create smooth air flow transitions that allow wind currents to easily pass over and through bar end blockages.
Read More
Net Orders Checkout
| Item | Price | Qty | Total | |
|---|---|---|---|---|
| Subtotal |
$ 0.00 |
|||
| Shipping | ||||
| Total | ||||